Building And Progress We painted all of the pieces except for the pulley system because we redid that AGAIN. ;) This one is actually the most reliable and easiest way. We had the same system except there was a chamber where the ball was held up on the same angle the whole time and a popsicle stick was pulled up to allow the ball to come through. Therefore still incorporating the pulley system. We also painted the whole project so that it looks more appealing. Unfortunately, we didn't get the result we wanted and it turned out pretty messy and sloppy. :(  Today we decided to adjust the ball disposer. It is now a popsicle stick rail that rolls the ball down to the bottom into another popsicle stick tray which is very cool to watch and is more interesting than the toilet paper roll disposer. The dispenser as you can see below comes down and bounces off of the styrofoam walls and lands inside the small holder at the bottom. We then added more screws as pegs on the cardboard to make the game a bit more challenging as the ball hit of the pegs randomly it can bounce to anywhere on the platform. We 2 sets of three pegs in a triangle and two sets of two screws side by side located at the top and the bottom. If your marble lands in the two pegs at the top you beat the whole game. 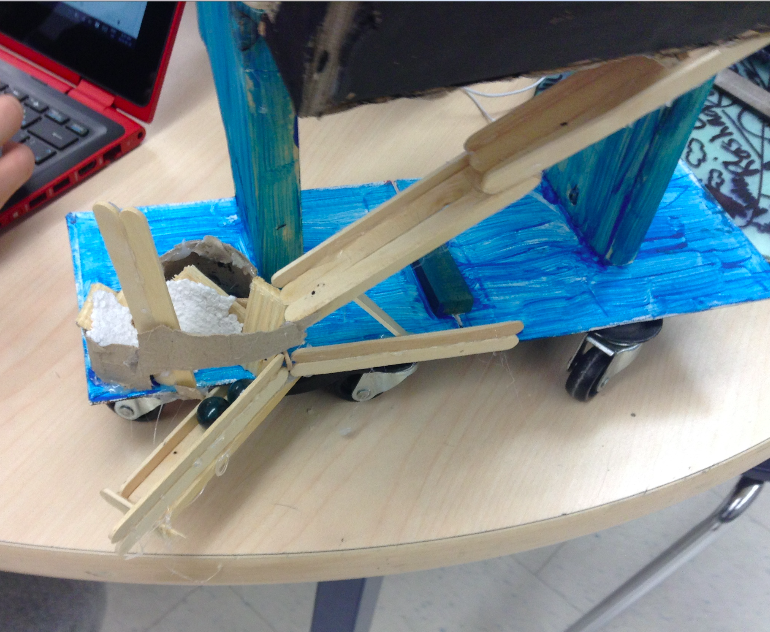
0 Comments
Changes/Building We decided to take off the pulley system right now because it was a bit harder to fix because someone in our class broke the piece off, Therefore, we will be adding it on later.  We also, changed the place where we were planning to have a big disposal line of paper rolls so that it comes into the pulley system again. But as we know that is impossible because the pulley system has also changed. We also felt that if you were going to play the game you would want an objective in the pinball machine so, every time that you got it to hit one of the top two screws you would get one point and every time you got it through the space in the middle of the board which is constantly spinning you gain a point. Below is a video demonstration of the game so far. We also got a set of wheels to put on the bottom of our machine so that it's portable, how we built this was we took the canvas' from our art work and we glued that onto the inclined pieces of wood and from there we glued the wheels onto the canvas'. This is also a change from our original design because in our original design we were planning to make another frame but, we felt that that would take too much work and would be a bit unreliable as we don't have the exact same pieces.  We also put in, two popsicle sticks so that the ball wouldn't get stuck in one corner and it could bounce off of it so that you can possibly hit it back up again.
ChangesWe made the wedge piece that we were planning to make as before but, Krishna and I decided to change the design of the wedge so it's not as complicated as before. What we did was we had a screw approximately 3/4th's into the thick popsicle stick and that is screwed into the cardboard so that we can easily flick the piece of wood and the pinball would go pretty far. 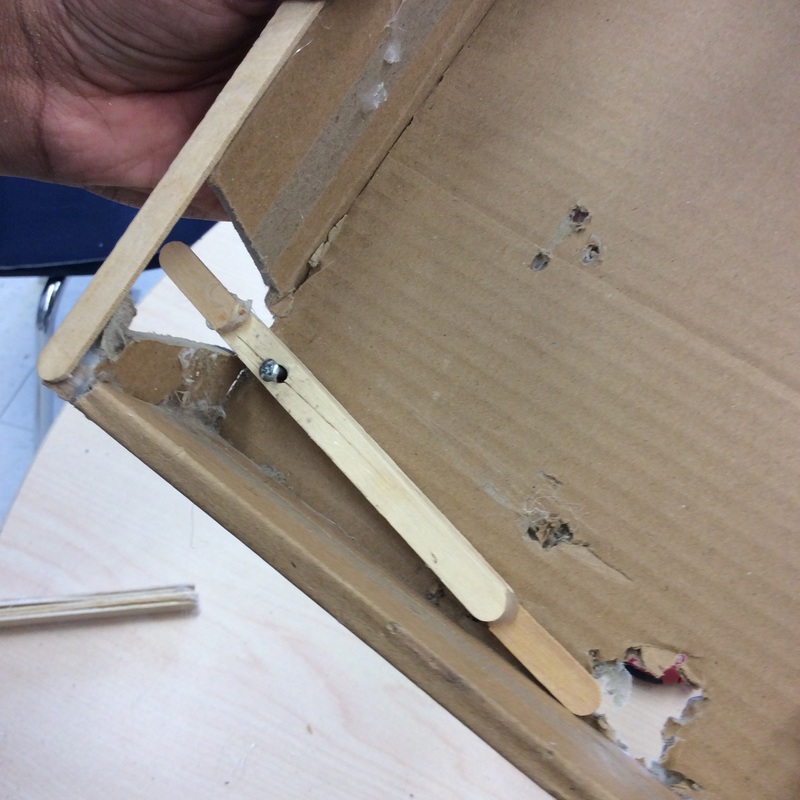 BuildingWe built on the wedge by screwing approximately 3/4th's into the thick popsicle stick and that is screwed into the cardboard so that we can easily flick the piece of wood and the pinball would go pretty far. This is what we worked on and as usual we had to reinforce all of our pieces again so we just filled in the empty spaces with glue. Changes!
We also found that the way the pulley was planning to be positioned was a bit too difficult so we had it positioned upwards and you have to pull on one side to get the platform to tilt and the ball rolls into the machine. As you can see in the picture below it is only tied onto the pulley because, we didn't want the platform to fall down. 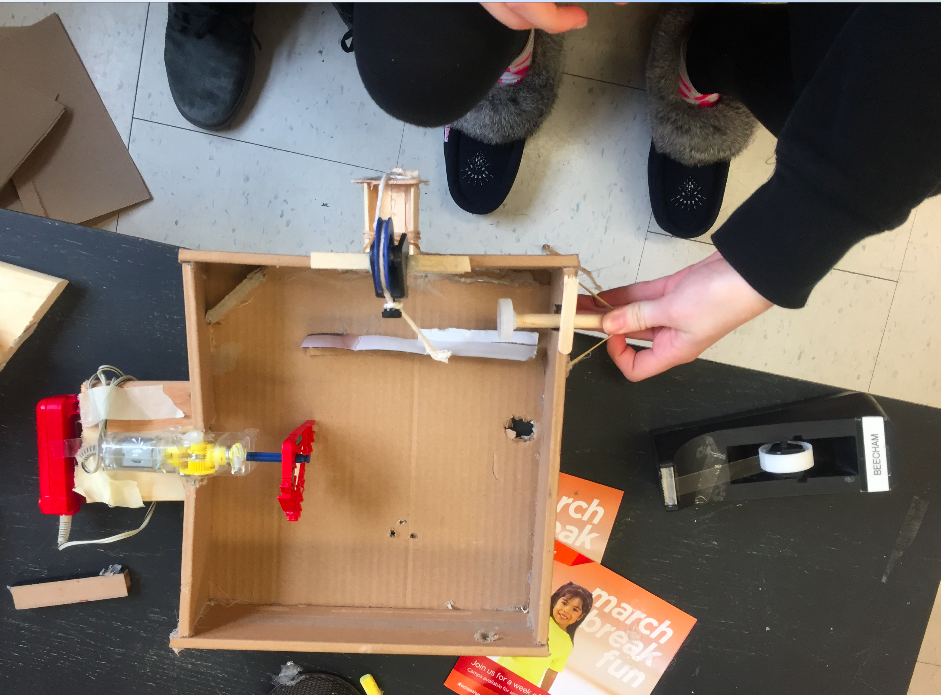 Building!As I said in my last blog we changed the position of the hole of the wedges that hit the ball up because of the lack of materials we have. I don't have any lego gears anymore and we don't know where to get them so, we had to make-do and make an elastic powered wedge. (Picture Below) So what you would do is pull the wedge back. But, the catch is, the drill hole isn't big enough for the two popsicle sticks we are using so, we have to cut a small hole into the wood and just add another piece of wood on top, then, we put a screw through the thick piece of popsicle stick so that the stick can turn. Finally we add a screw and hot glee the ends so that the rubber band doesn't come off. From here the wedges would look similarly to what it's like below. 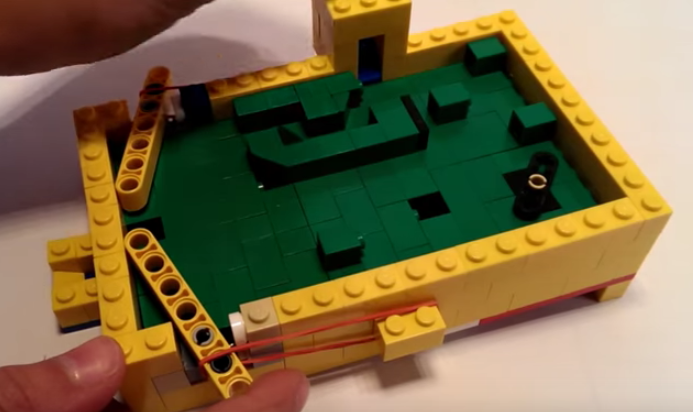 We built a pulley where, you have to pull on one side to get the platform to tilt and the ball rolls into the machine. As you can see in the picture below it is only tied onto the pulley because, we didn't want the platform to fall down.
Changes!Because we found out that there were gears inside of the motor so that the piece could turn there is no need to have our wedges so complicatedly built. Therefore we switched the places of the wedges so that we have just one on the side. Also, we planned instead of putting a piece of wood on the dowel we were going to put a bottle cap. Other then that there are no major changes that were done to our pinball machine. Building!We now built the mechanism that was going to push the pinball machine which can be seen below. It is a dowel that is pushed back by your hand and when the elastic tension is released the dowel goes forward which later on knocks the marble forward. 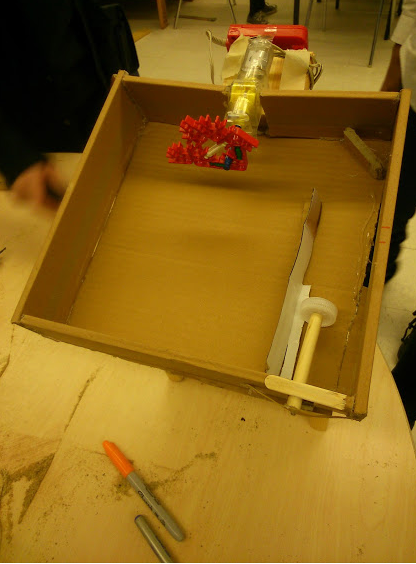 After this, we continued to cut the two pieces of wood on a 45 degree angle so that the pinball can be on a slight slant or else, the ball wouldn't come down and you cant lose! The pieces are glued onto the platform with hot glue so that it stays on and from there we just had to re-glue some of our pieces because some were falling apart. Now, we cut a small portion off so that the wood object is going to have space to push the marble. We also added a small rail which is made of cardboard and a thicker corner piece just in case the marble goes there so that it bounces off and goes back into the main part of the machine. The wood is underneath the surface.
ChangesWe decided to add in a small motor which turns either to the left or right so because we wanted t incorporate something that would also turn by itself, we added pieces onto it so that it moves the marble in the pinball machine. We also are changing the idea of having a spring as we thought it would be too difficult so, we allow the ball to come in, still using the pulley system but now we have a rubber band which is pulled back with a wooden handle therefore pushing the marble forward when let go! We also took off the canvas pieces because we had extra cardboard which was more reliable and easier to manipulate. BuildingAfter we had looked at the blocks of wood that we had made we put on the cardboard and later we had to cut a small portion off of the side so that we can put in the motor. We also have a piece of wood so that the motor can settle onto it. The motor's control is hot glued onto that piece of wood so that it stays in one spot. 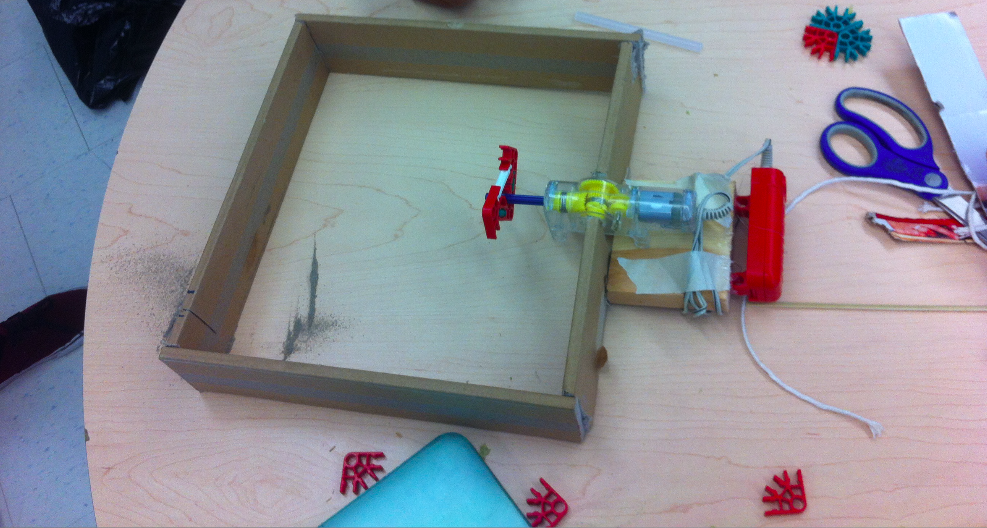 ChangesWe took of the EV3 Light Sensors and Module but then after building the pieces we found out that we can use the module and program it with the wheels to transport the pinball machine. We took off the sensors because we felt that the system would be too complicated and we needed to focus on the main idea which was the systems in our whole project. Progress
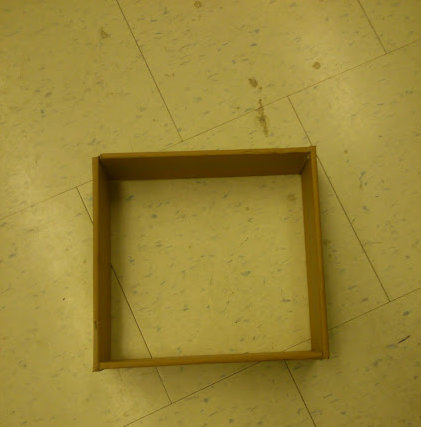
From this point we needed to make the base so that everything can go on top of it. We used the canvas' from our artwork of before.
|


 RSS Feed
